Kaltura: Record a presentation
See Getting started with Kaltura for more information about logging in, uploading existing videos, and sharing video content from Kaltura MediaSpace from outside of Canvas.
These specific directions are for creating new video featuring slides, a screencast, and audio, with an optional floating mini webcam video.
* Note: that Kaltura’s desktop recorder feature requires downloading and installing the free application Kaltura CaptureSpace Desktop Recorder.
- Ensure your webcam, or at least a mic, is connected to your computer before you start.
- Log into Kaltura with your Rutgers NetID, from the “Guest” drop-down menu at the top-right corner
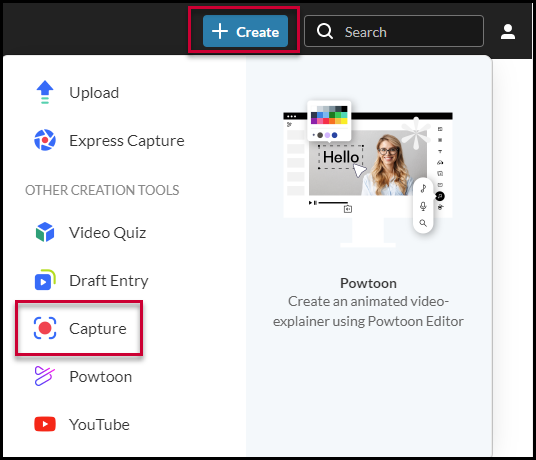
- After logging in, you should select the blue + Create button to the left of the login area in the top-right corner. See image to the right)
- Select “Capture” and you’ll be presented with the download page. (For quick recordings with limited options, Express Capture is an option.)
- The first time you use this feature, you should download and install either the Mac or Windows version of the Kaltura CaptureSpace Desktop Recorder [note that in subsequent sessions from the same computer, you do not need to reinstall—you will just need to select open Kaltura Capture.]
- Select the combo you’d like to record from the Kaltura Capture from the icons. The screen is for screen capture. The camera is for webcam capture. Audio is for audio recording.

- Choose to record your full screen or just a selected area (which will require clicking “select area” to specify the window and area to record)
- You’ll get a 5-second countdown before the recording starts
- Press the red button to pause the recording
- Select the gray square to stop the recording (or cancel with the X if necessary!)
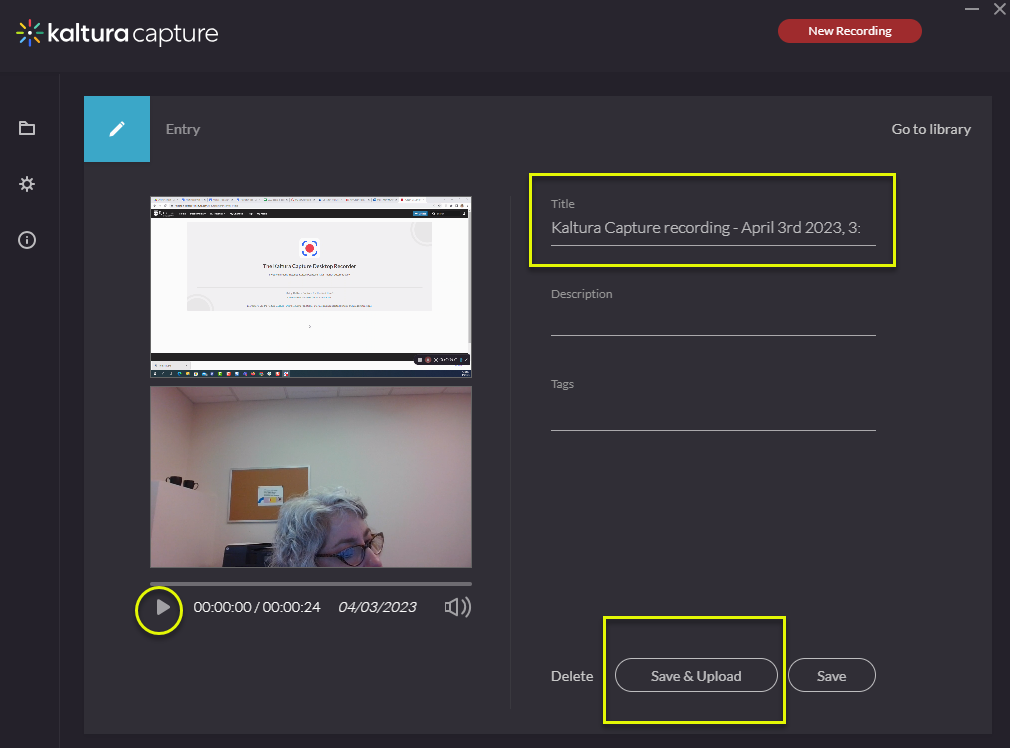
- You can play back the new video immediately in the Kaltura Capture new recording window. (See image below)
- You can also edit the title and add a description or tags. Upload & save it to the Kaltura streaming server
- Return to Kaltura MediaSpace web page and click My Media to see your new video
- If you want to share the video, click on it and from the Actions button, choose Publish and Unlisted,
- then Save